

Hot stamping defects are rarely caused by one single factor. When a customer sees missing foil, blurred edges, weak adhesion, or position deviation, the first reaction is often to blame the machine. In real production, the problem may come from the material surface, foil grade, temperature, pressure, dwell time, die condition, fixture design, or manual operation.
This is why hot stamping troubleshooting should not start with random adjustment. A higher temperature may improve foil transfer, but it may also create blurred edges. More pressure may fill a missing area, but it may also crush a paper surface or make fine text dirty. A better process comes from checking each variable in a controlled order.
For packaging products such as paper boxes, gift boxes, wine boxes, cosmetic boxes, rigid boxes, and coated paper cards, the goal is not only to make one good sample. The real goal is to keep the foil area clean, consistent, and repeatable during production. After correcting the immediate defect, use a controlled hot stamping process-parameter test to define a stable temperature, pressure, and dwell-time window.
Hot Stamping Defects Are Usually a Process Chain Problem
Hot stamping is a combined result of heat, pressure, time, foil release, and surface compatibility. The machine provides controlled heat and pressure, but the material must also accept the foil. The die must be accurate enough to transfer the design. The fixture must keep every product in the same position. The operator must avoid changing too many settings at the same time.
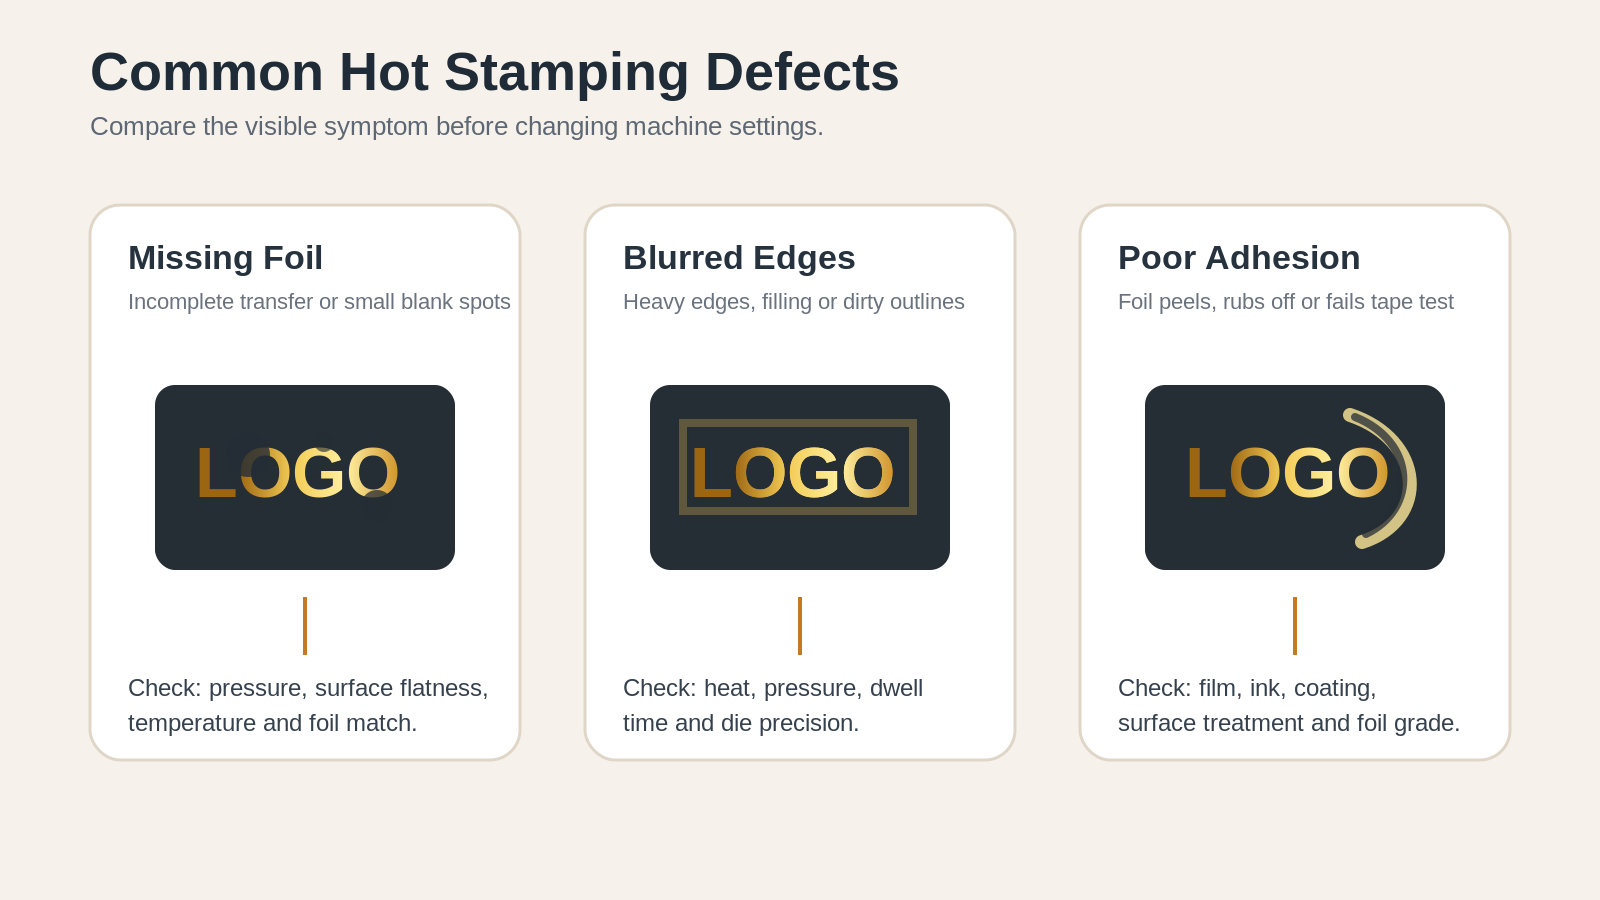
A simple way to understand the process is this: if the foil does not transfer completely, the system may not have enough effective transfer energy or the surface may not be suitable. If the edge becomes blurred, the system may have too much heat, too much pressure, too long contact time, or a die that is not sharp enough. If the foil peels off after stamping, the issue is often related to material surface layers, film, ink, coating, or foil compatibility.
A good troubleshooting process should separate these causes instead of treating all defects as the same problem. This article is the more detailed companion to PackFinish's existing guide on common hot stamping problems.
1. Missing Foil: Why Local Areas Do Not Transfer Completely
Missing foil means part of the design is not fully transferred to the product. It may appear as small blank spots, broken strokes, incomplete logo edges, or uneven coverage across the same stamped area.
Common causes include insufficient pressure, uneven material surface, unsuitable temperature, short dwell time, poor foil release, worn die surface, or a foil that does not match the substrate. For textured paper, laminated paper, or rigid boxes with slight surface unevenness, the problem may be more obvious because the die cannot contact every small area evenly.
Before increasing the machine setting, first check whether the missing area appears in the same position every time. If the missing foil always appears in the same part of the design, the die surface, plate mounting, local pressure balance, or product flatness should be checked. If the missing position changes randomly, material surface variation, loading position, foil tension, or operator handling may be involved.
For paper packaging, missing foil can also happen when the surface is too rough, too porous, or covered by a coating that does not work well with the selected foil. On laminated paper, the film layer may require a different foil grade from ordinary paper. On special paper, the surface texture may need a softer make-ready layer, higher pressure balance, or a larger test range. Buyers who are still checking material fit can also review what packaging materials can be hot stamped.
A practical correction sequence is:
- Keep the same material and foil roll.
- Slightly increase pressure and test again.
- If the result improves but is still incomplete, adjust temperature in small steps.
- If the edge begins to blur, reduce temperature or dwell time and check foil grade.
- If the defect remains in the same area, inspect die flatness, mounting, and product support.
The mistake to avoid is changing pressure, temperature, foil, and fixture all at once. That may produce a good sample by luck, but it does not tell you which factor solved the problem.
2. Blurred Edges: Why the Foil Outline Becomes Dirty or Heavy
Blurred edges are the opposite problem. The foil transfers, but the outline is not clean. Fine letters may become thick. Small gaps may fill in. Borders may look dirty. The stamped logo may lose the sharp premium look that hot stamping is supposed to create.
Typical causes include excessive temperature, excessive pressure, excessive dwell time, a soft make-ready layer, inaccurate die engraving, poor die mounting, or unsuitable foil. When the temperature is too high, the release layer of the foil may transfer beyond the intended edge. When pressure is too high, the foil can spread into nearby areas, especially on soft paper, coated paper, or laminated surfaces. When dwell time is too long, fine details may become heavy.
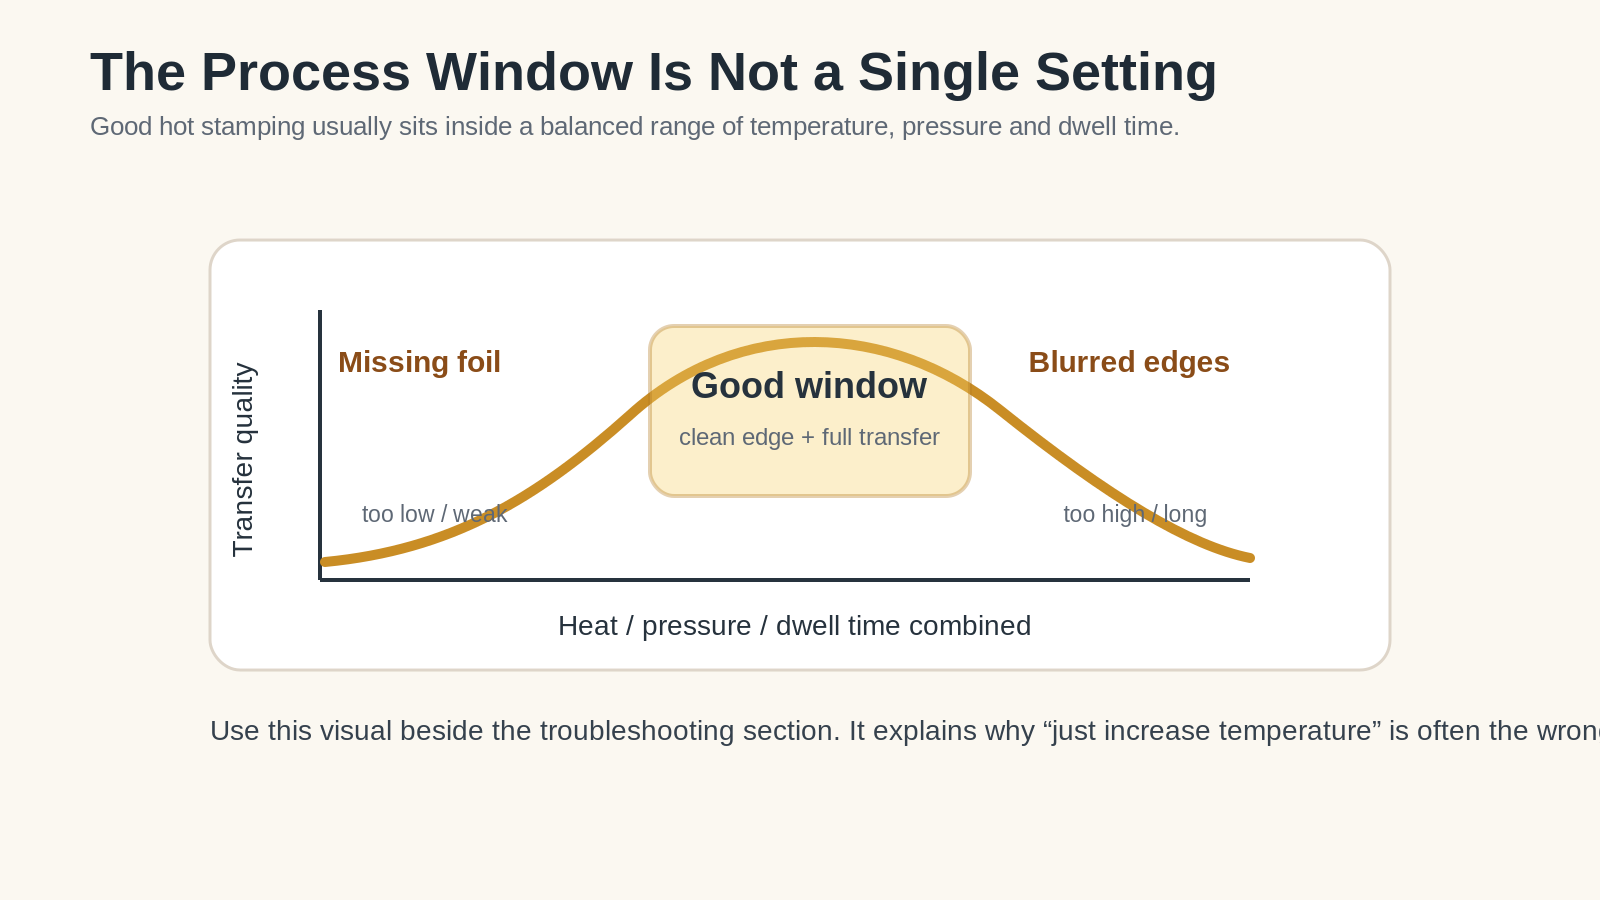
Blurred edges are especially important for luxury packaging, wine boxes, cosmetic boxes, and gift boxes because the customer usually cares about fine logos, brand names, thin lines, and small decorative patterns. A logo that looks acceptable from far away may still fail quality inspection when the edge is checked closely.
The first correction is usually not to increase pressure. Instead, reduce one transfer energy variable at a time. Lower the temperature slightly, shorten the dwell time, or reduce pressure step by step. If the edge improves but some areas start to miss foil, the process window is too narrow and the foil grade, die quality, or material surface may need to be changed.
The die itself should also be checked. A worn, poorly engraved, or poorly mounted die can produce unclear edges even when the machine setting is reasonable. For very fine text or thin-line artwork, the die material and engraving quality matter. The design file may also need adjustment if the lines are too thin for the material and foil combination.
3. Poor Adhesion: Why the Foil Peels, Rubs Off, or Fails a Tape Test
Poor adhesion means the foil looks acceptable immediately after stamping but does not stay firmly on the product surface. It may peel during tape testing, rub off during handling, or fail after folding, packing, or transportation.
This problem is strongly related to the surface of the product. A paperboard may be easy to stamp before lamination but difficult after film coating. Ink layers, varnish, UV coating, matte lamination, glossy lamination, and special surface treatments can all change adhesion. The foil does not bond directly to the idea of "paper"; it bonds to the actual top surface layer.
This is why customers should not judge hot stamping only by product category. "Paper box" is not enough information. A printed, laminated, textured, coated, or varnished paper box can behave very differently from plain paperboard.
When adhesion is poor, check the following points first:
- Is the stamping area on raw paper, printed ink, lamination film, varnish, or coating?
- Has the surface been treated with oil, anti-scratch coating, UV varnish, or matte film?
- Is the foil designed for paper, plastic film, laminated surface, or another substrate?
- Does the problem happen immediately, or only after rubbing, folding, or tape testing?
- Does a higher temperature improve adhesion, or does it only damage the edge?
The correct solution may be a different foil grade rather than a different machine. Some foils release well on uncoated paper but perform poorly on laminated packaging. Some surfaces require specific foil types with better bonding performance. If the product has a difficult coating, sample testing becomes necessary.
For packaging buyers, the key point is simple: send the real material sample before confirming the process. A photo can show the product shape, but it cannot prove surface adhesion.
4. Misalignment: Why the Foil Position Moves
Misalignment means the foil design is not stamped in the intended position. It may move left or right, rotate slightly, shift between batches, or vary from piece to piece. In many cases, the machine is blamed first, but the real cause may be product loading, fixture design, or product dimension variation.
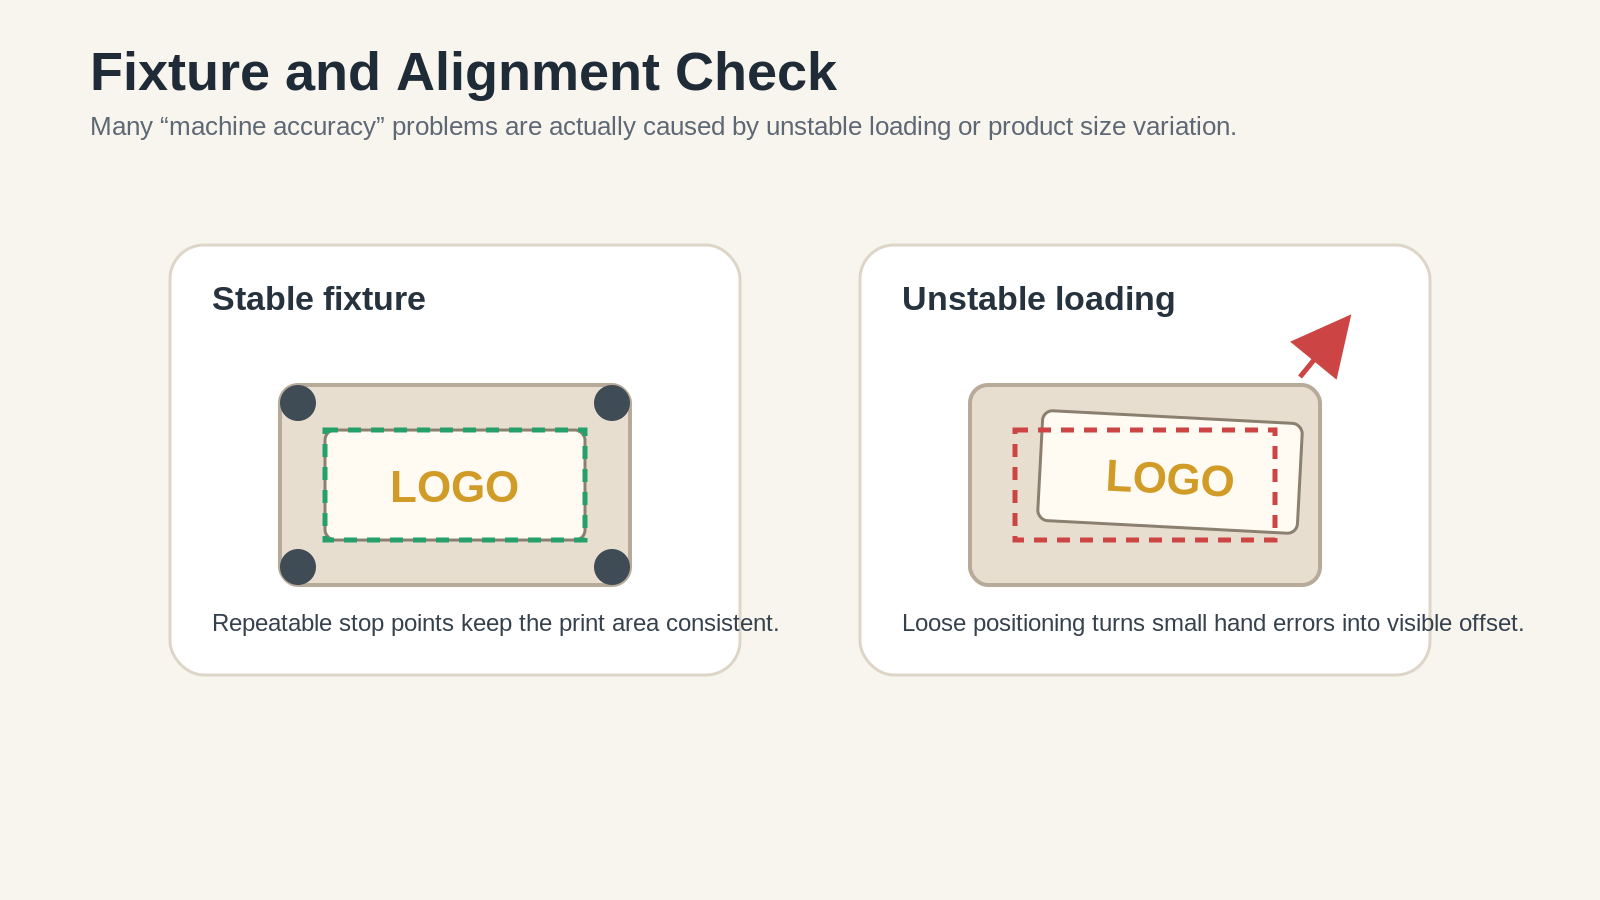
For flat paper sheets, alignment is usually easier. For gift boxes, wine boxes, and rigid boxes, positioning can be more difficult because the product may be thicker, heavier, or slightly inconsistent in size. If the box is already formed, the available stamping area may not sit perfectly flat on the worktable. If the operator places each product by hand without a reliable stop point, small manual errors will become visible on the finished product.
Common causes of misalignment include unstable fixtures, loose positioning blocks, inconsistent product dimensions, poor feeding repeatability, movement during stamping, or incorrect artwork positioning on the die.
The correction should start from repeatability. Place the same product into the fixture several times without stamping and check whether it always sits in the same position. Then stamp several pieces at the same setting and compare the deviation. If the offset is consistent, the die position or fixture reference may need adjustment. If the offset changes randomly, the fixture, product tolerance, or loading method should be improved.
For production work, a good hot stamping machine should allow the user to build stable positioning methods for the actual product, not only press a sample manually. For many packaging projects, the fixture is as important as the press itself.
How to Troubleshoot Hot Stamping Problems Systematically
A systematic troubleshooting method saves time and prevents false conclusions. The basic rule is to keep the material fixed and change only one process variable at a time.
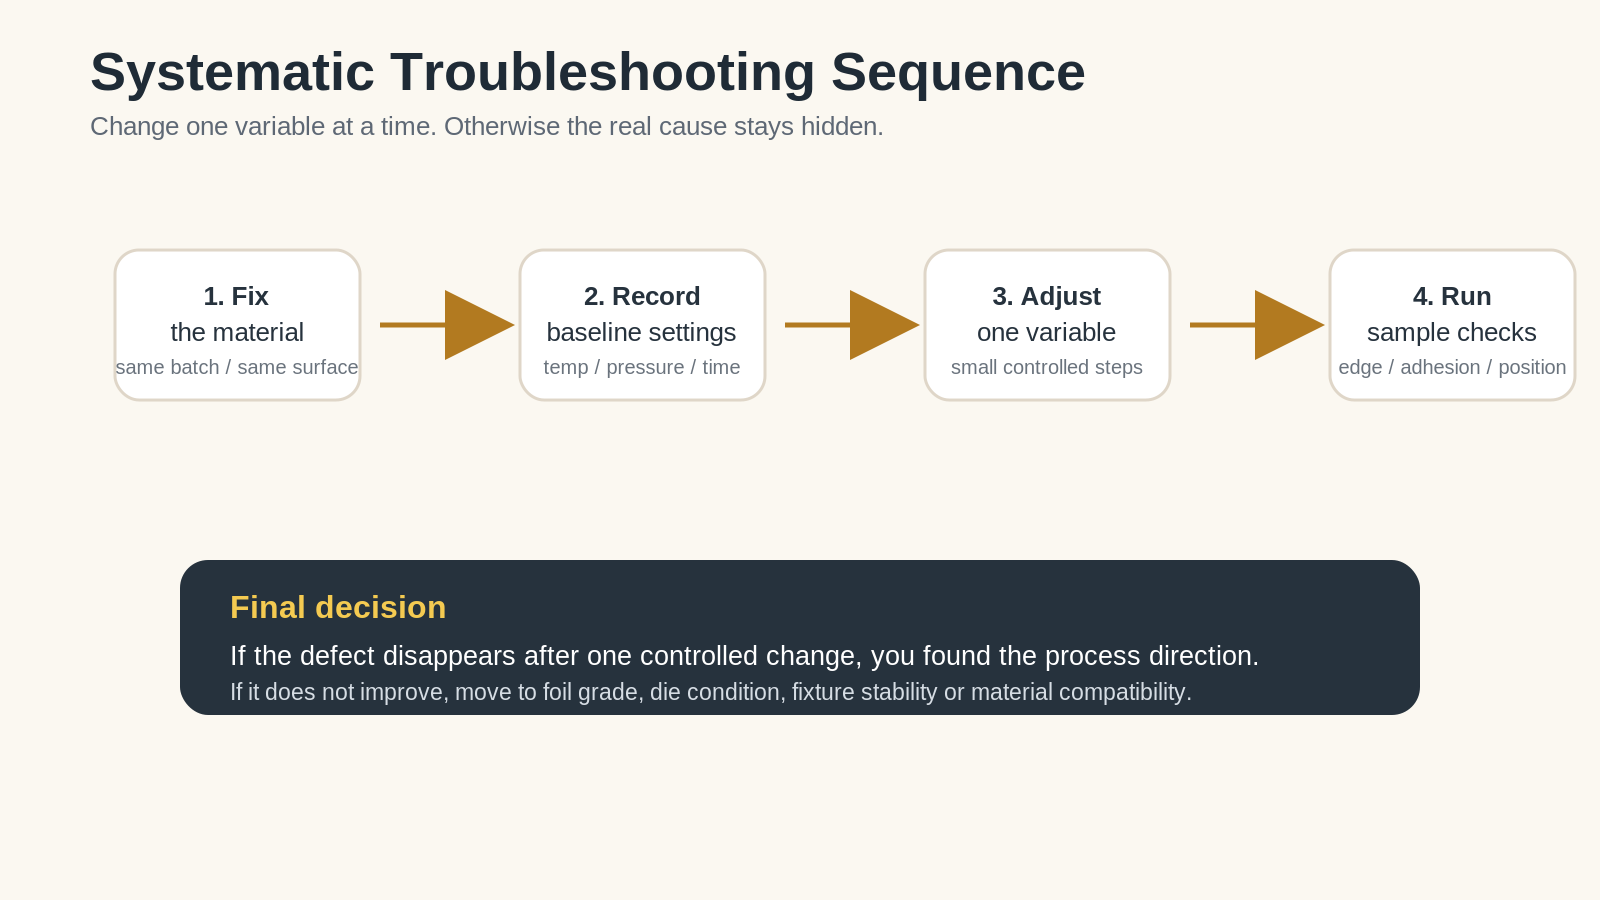
Start with the real production material. Do not test on a random paper sheet if the final product is a laminated gift box. Record the starting settings: temperature, pressure, dwell time, foil type, die, machine model, fixture condition, and material batch. Then make a small adjustment and stamp again.
For missing foil, try controlled increases in pressure, temperature, or dwell time, but watch for blurred edges. For blurred edges, reduce heat, pressure, or dwell time and check whether the design becomes clean again. For poor adhesion, do not rely only on visual inspection. Use rubbing, tape testing, or folding tests according to the packaging requirement. For misalignment, test fixture repeatability before changing the stamping parameters.
The most common troubleshooting mistake is changing multiple variables at once. If the result improves, you will not know which change actually worked. If the result becomes worse, you will not know which change caused the new problem. This is especially risky when testing expensive packaging materials or customer samples.
A controlled test record should include:
- Material name and surface type
- Foil brand or foil grade
- Die material and design size
- Temperature setting
- Pressure setting
- Dwell time
- Fixture or positioning method
- Visible result after stamping
- Adhesion test result if needed
This record helps both the machine supplier and the customer communicate clearly. Instead of saying "the foil does not work," the customer can show what material was used, what settings were tested, and what defect appeared.
What Buyers Should Check Before Ordering a Hot Stamping Machine
For buyers, defect prevention should start before ordering the machine. The first question is not only machine price. It is whether the machine, fixture, foil, and process can match the actual product.
For packaging products, buyers should confirm product size, stamping area, material surface, required output, artwork detail, and whether the product is flat, semi-finished, or already formed. A small logo on flat paperboard requires a different setup from a large foil pattern on a rigid gift box. A wine box with laminated paper and fine brand text needs more careful testing than a simple paper card.
The machine should provide stable temperature control, sufficient and adjustable pressure, reliable dwell time control, a flat and solid worktable, safe operation, and practical fixture options. But even a good machine cannot ignore material compatibility. If the surface layer rejects the foil, the result will still be unstable.
For broader machine selection, compare this defect-focused process check with PackFinish's guides on choosing the right hot stamping machine for packaging products, hot stamping machine options for gift boxes, and hot stamping machine considerations for wine boxes.
Send Failed Samples or Product Photos for Process Troubleshooting
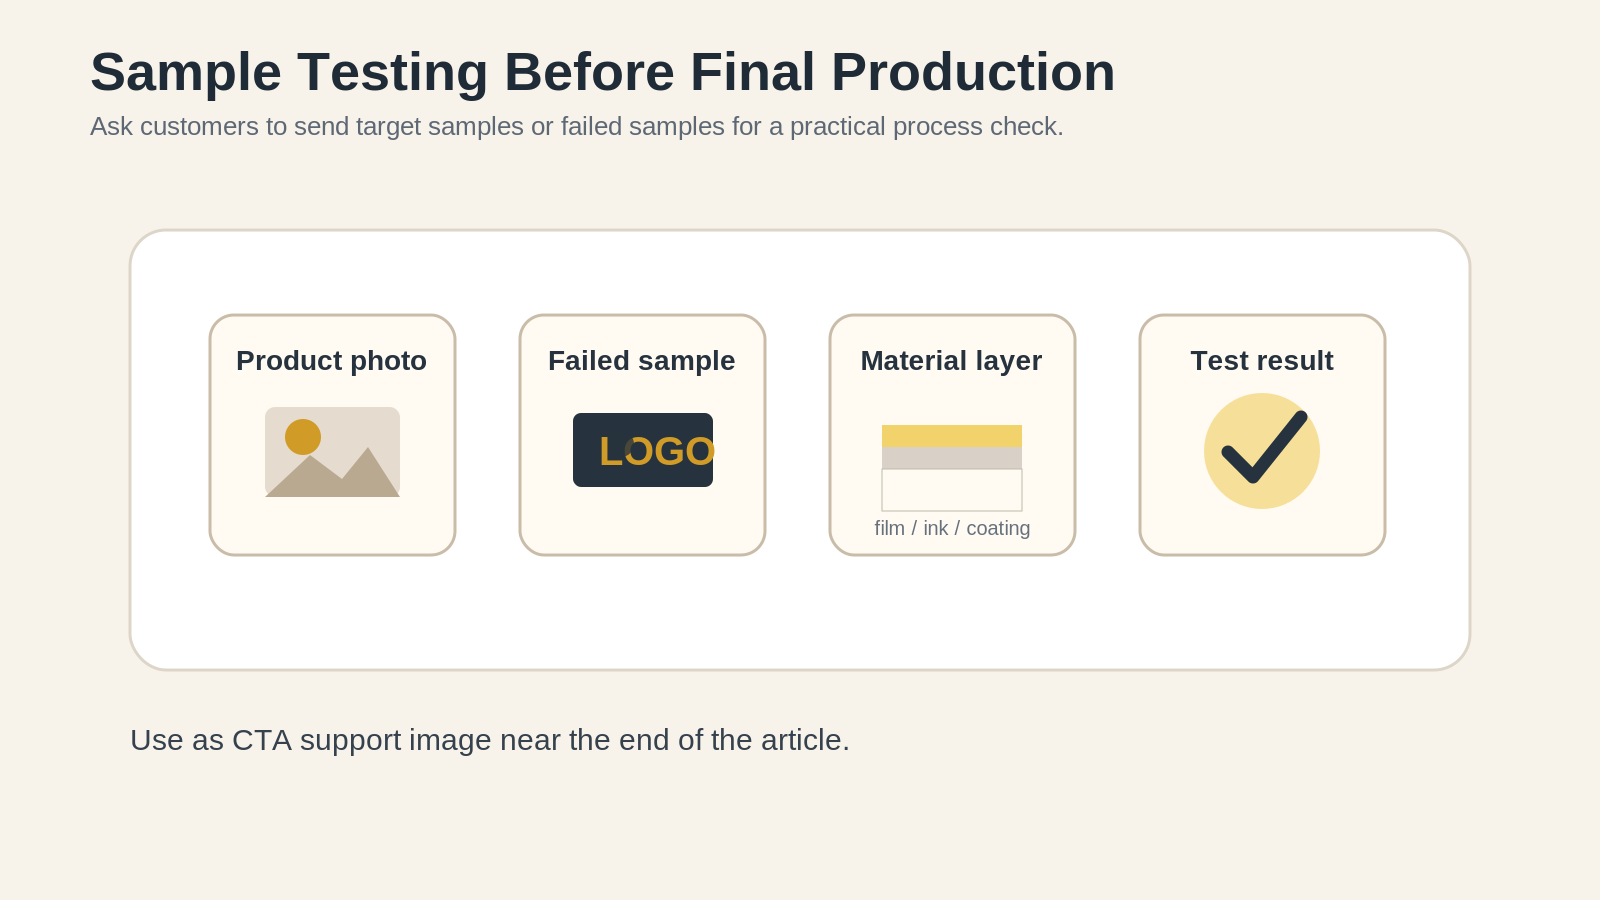
If you already have failed hot stamping samples, they are useful. Missing foil, blurred edges, poor adhesion, and misalignment can all provide clues about the process. A failed sample is often more informative than a perfect product photo because it shows where the process is breaking down.
When contacting a hot stamping machine supplier, send clear photos of the defect, the target product, the material description, the stamping size, and the expected production quantity. If possible, send real material samples for testing. The supplier can then check whether the issue is more likely related to machine pressure, temperature, foil grade, material surface, die design, or fixture stability.
Hot stamping quality is not achieved by guesswork. It comes from matching the machine, material, foil, die, and operation method. For serious packaging projects, sample testing is not an extra step. It is the most reliable way to avoid production defects before they become expensive.
Need help with a failed hot stamping result? Send failed samples or product photos for process troubleshooting.